Overview
Non-Destructive Testing (NDT) is utilised across all industry segments to determine quality, reliability, and safety. ARI offers the full range of certified NDT services, and our competent staff have the relevant industry sector backgrounds to ensure that you will get the level of competence your job demands.
With offices across Perth, Adelaide, Melbourne, Port Hedland and Bunbury, we support businesses nationwide.
The main NDT methods that we undertake are:
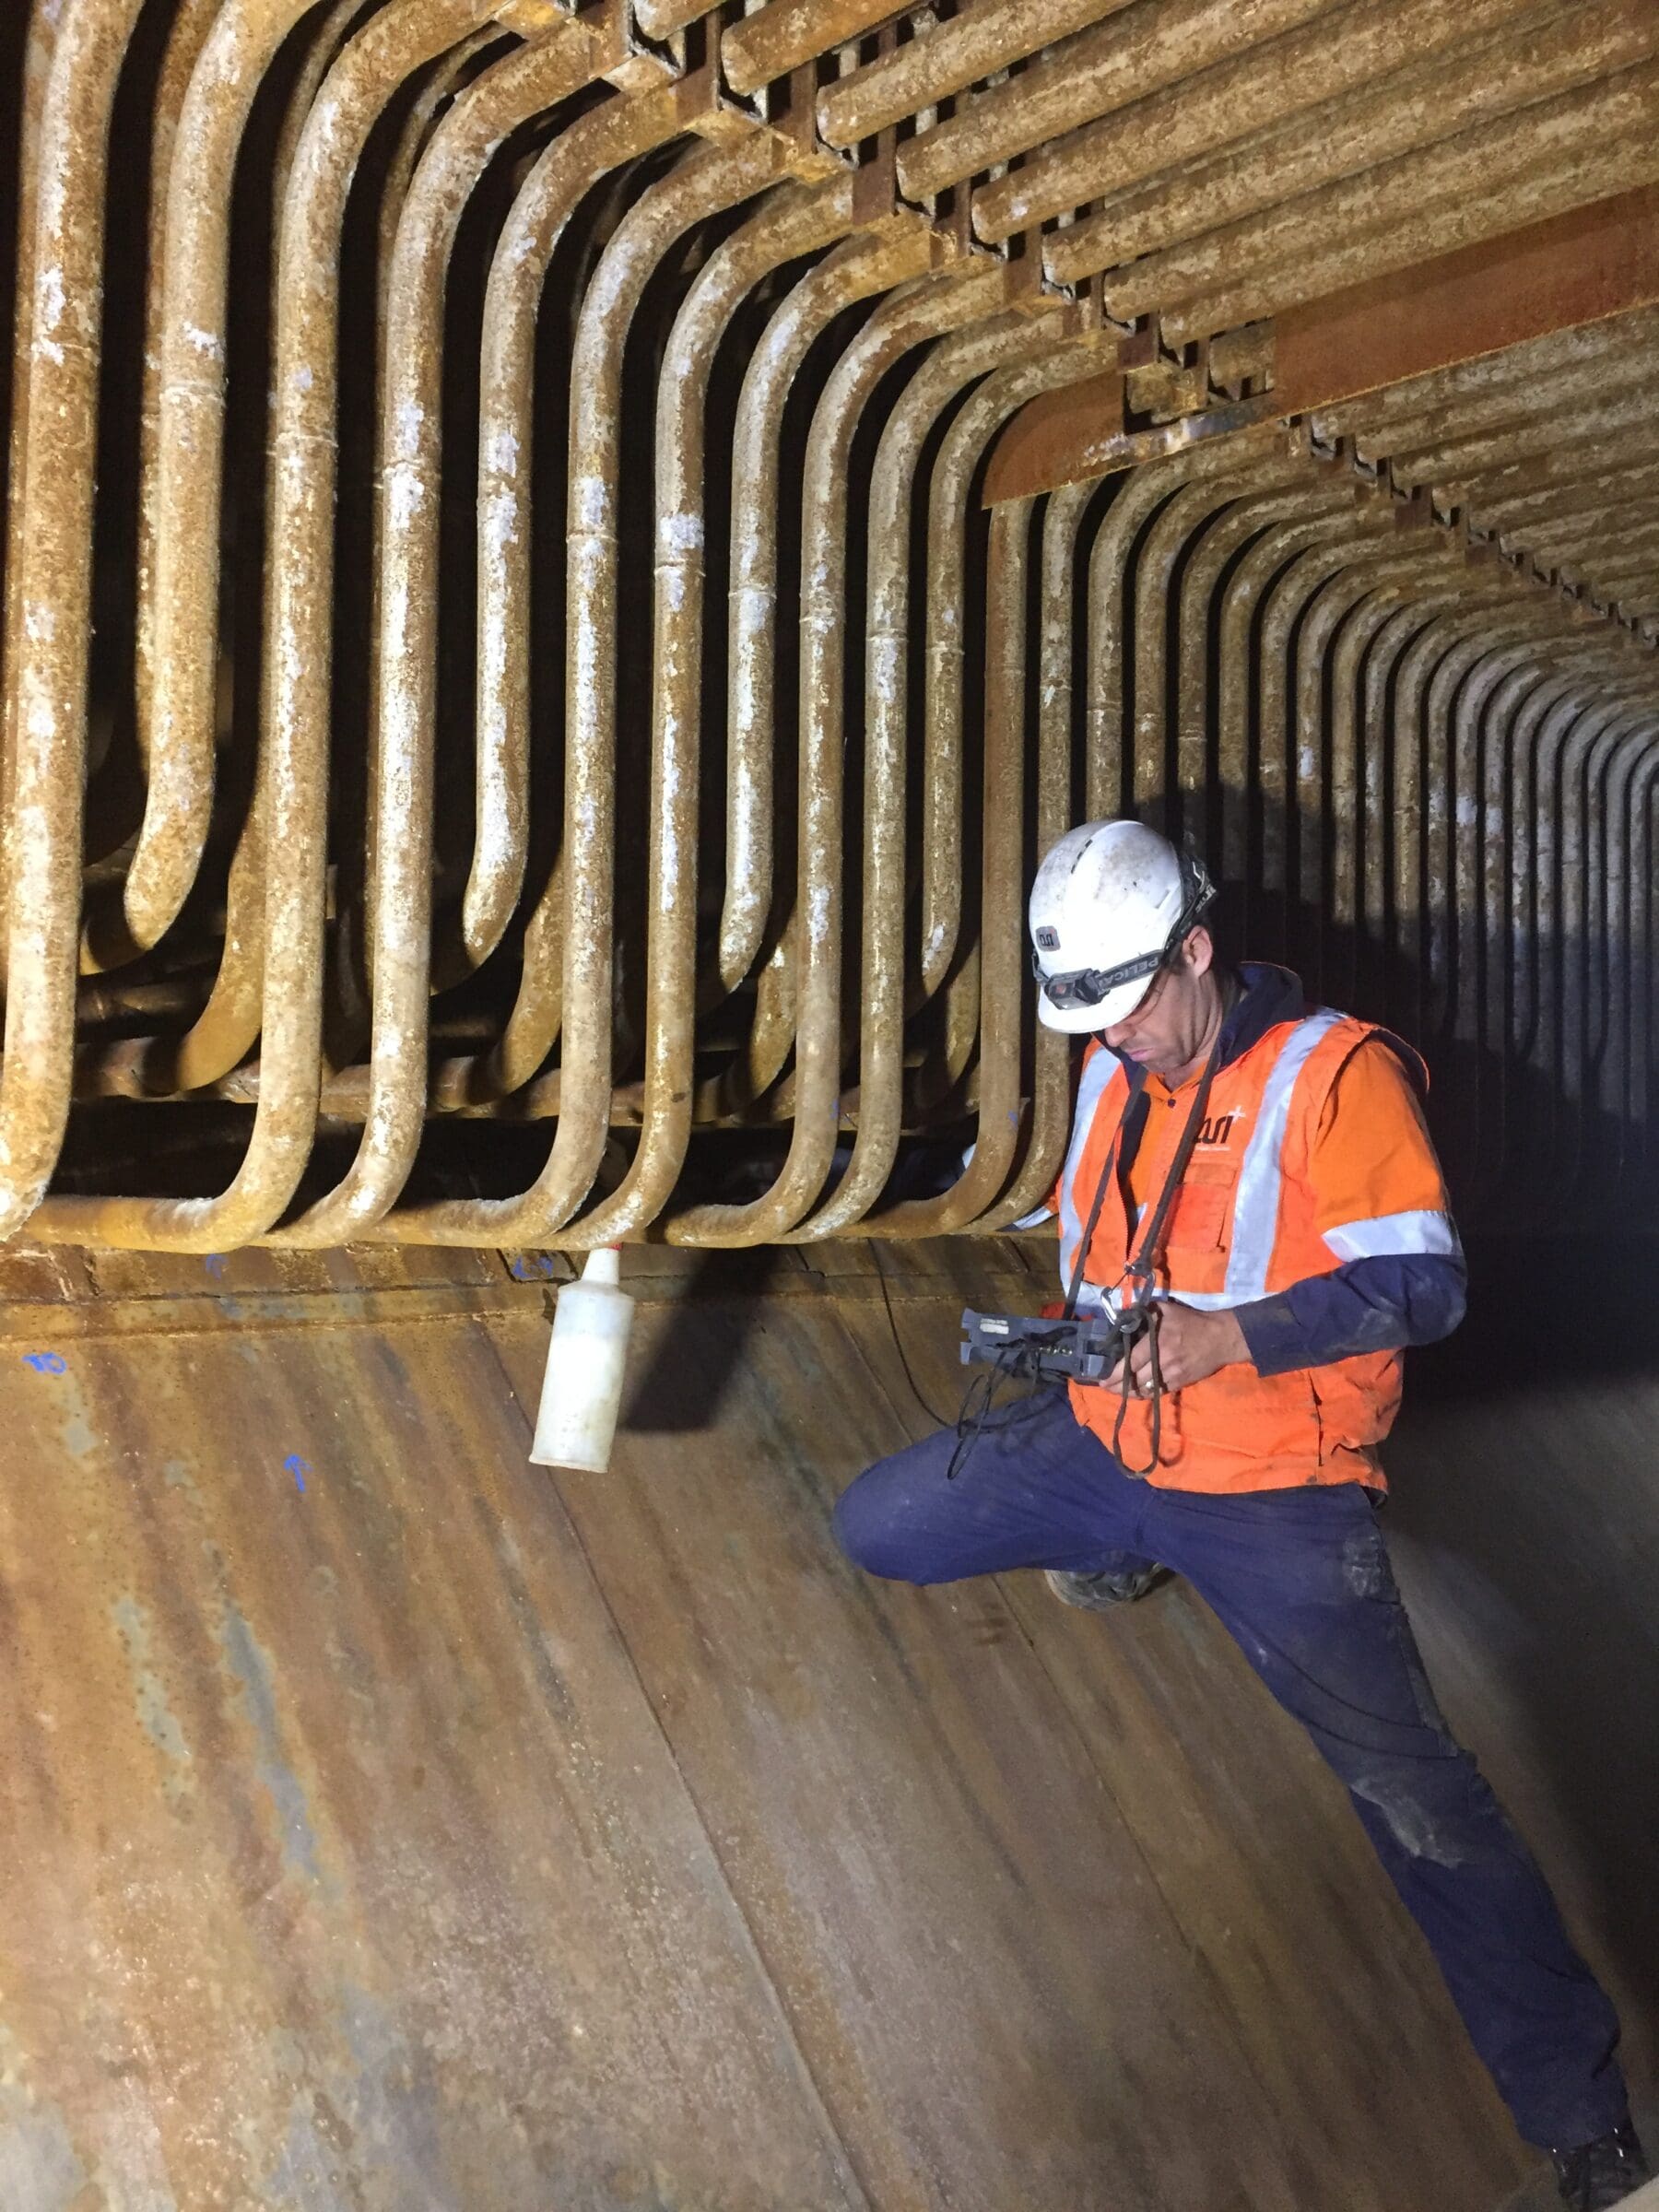
Ultrasonic Testing
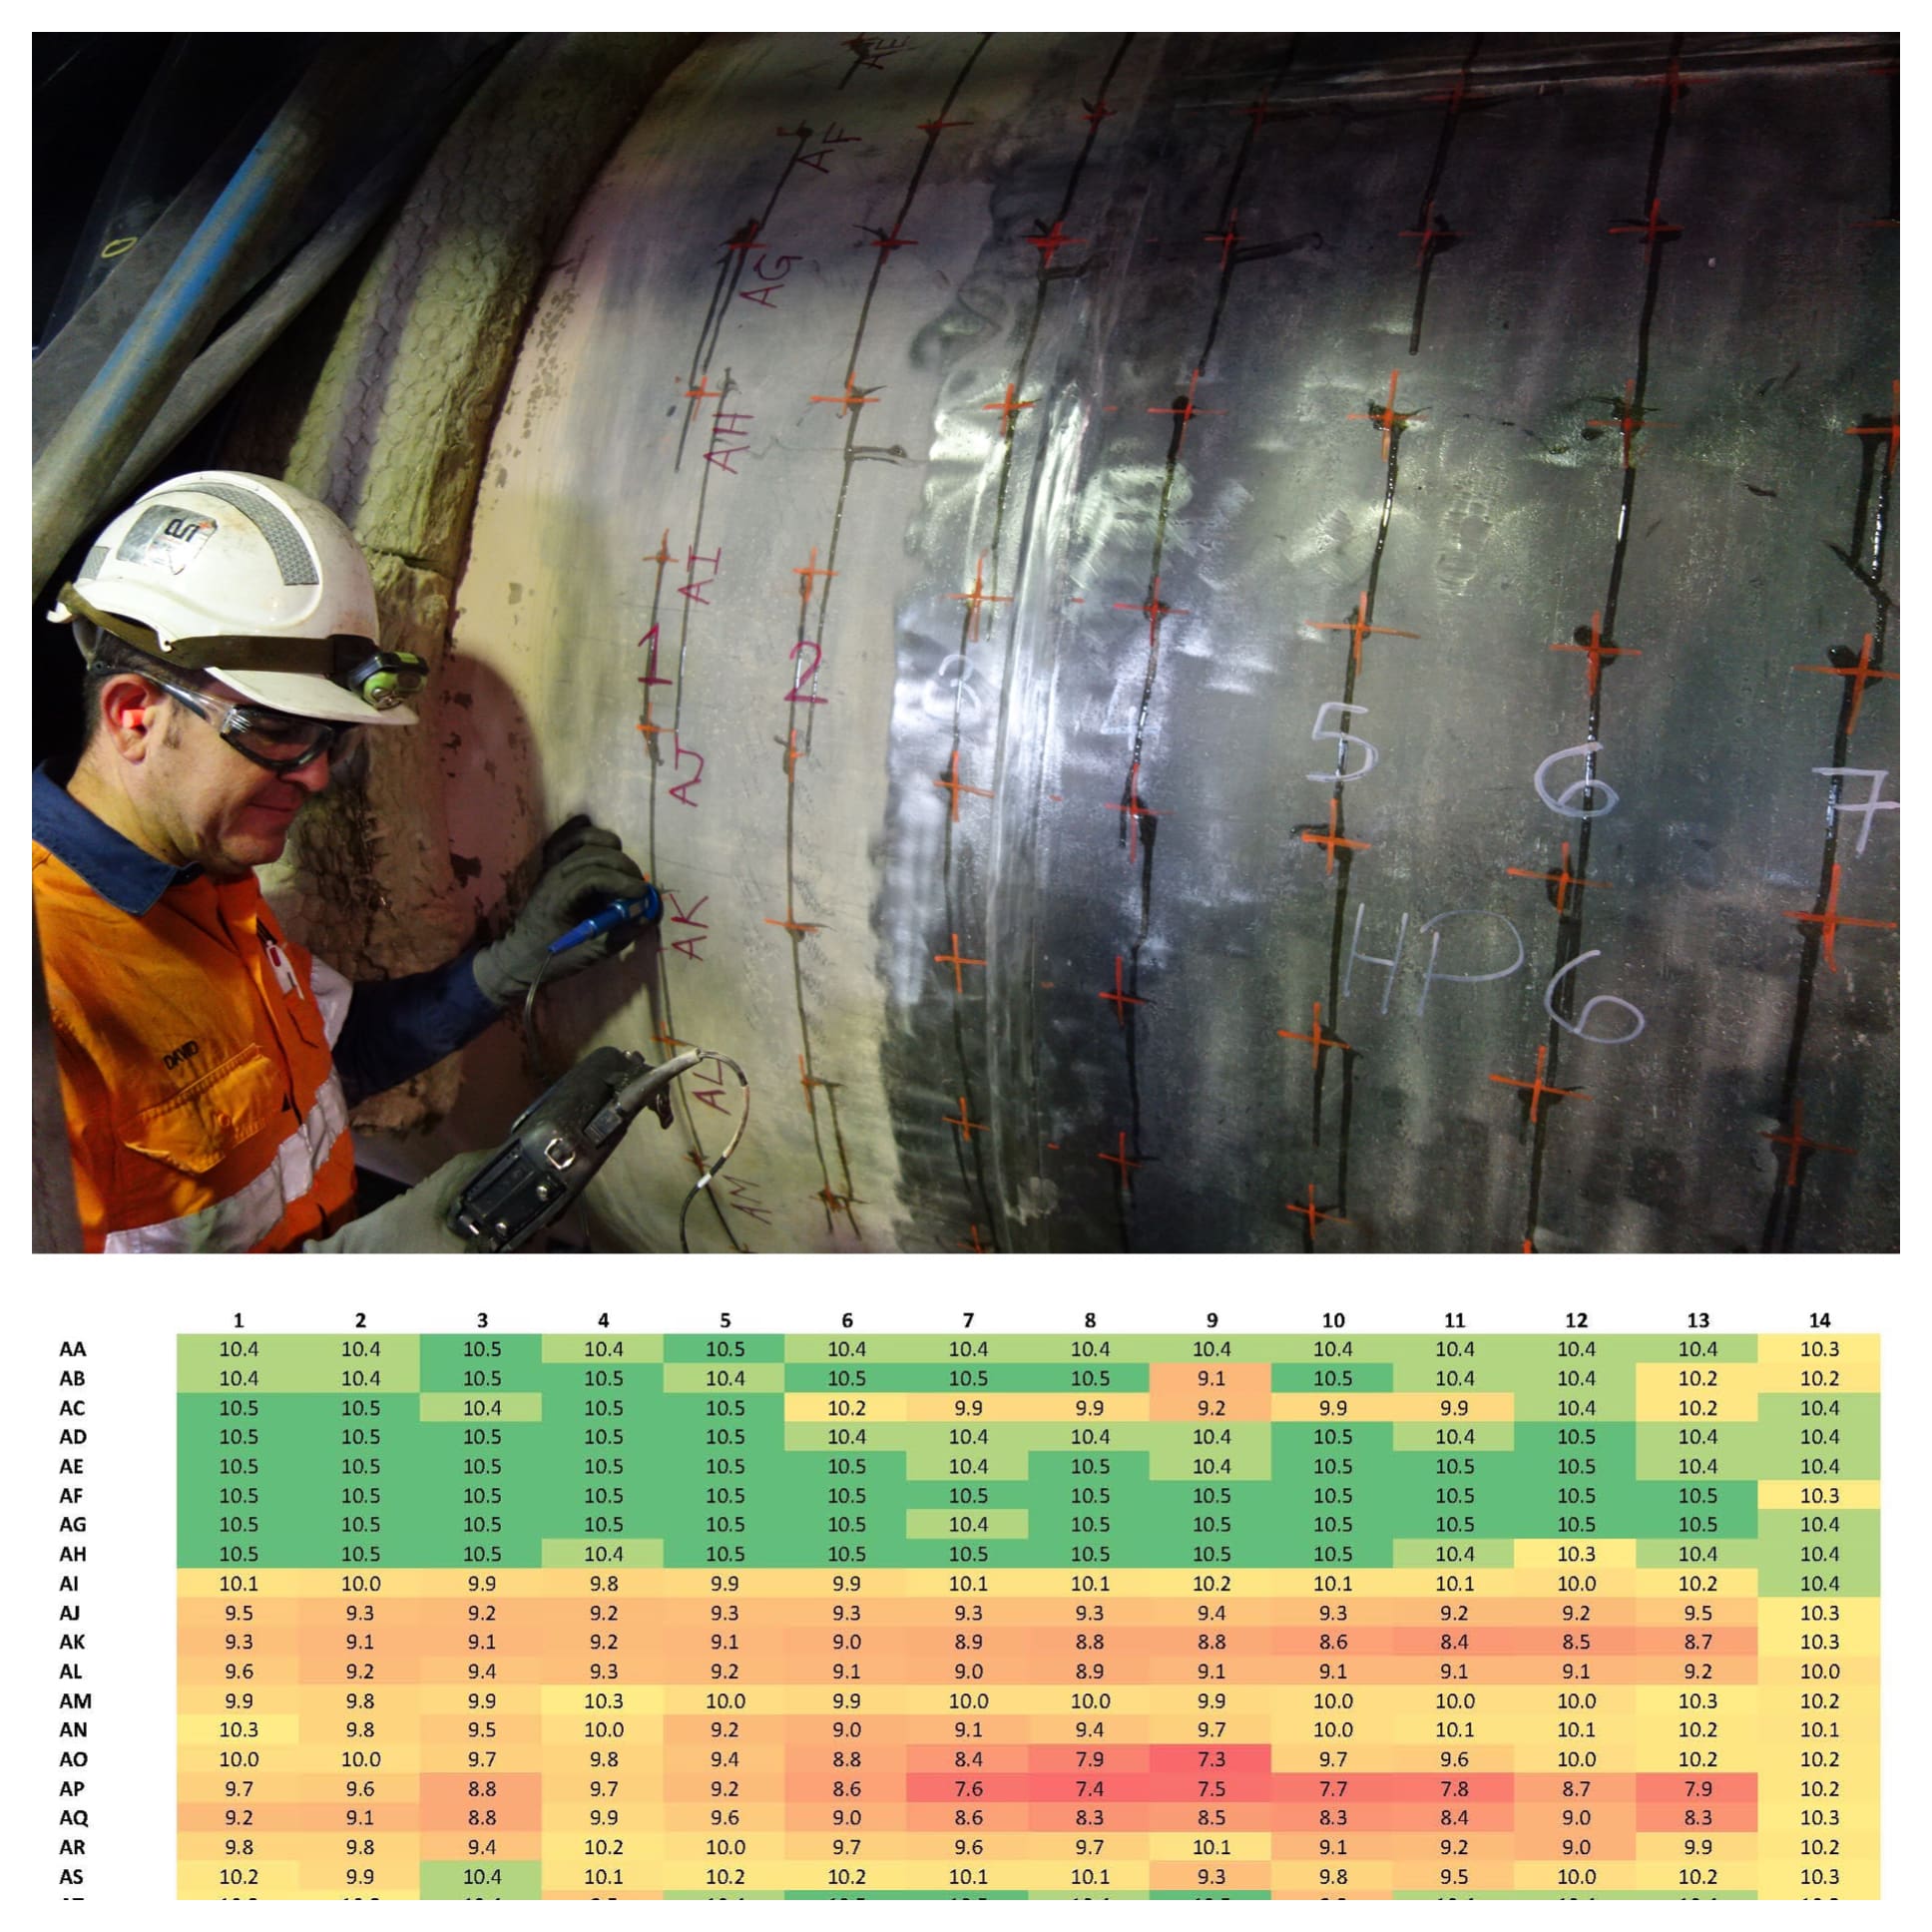
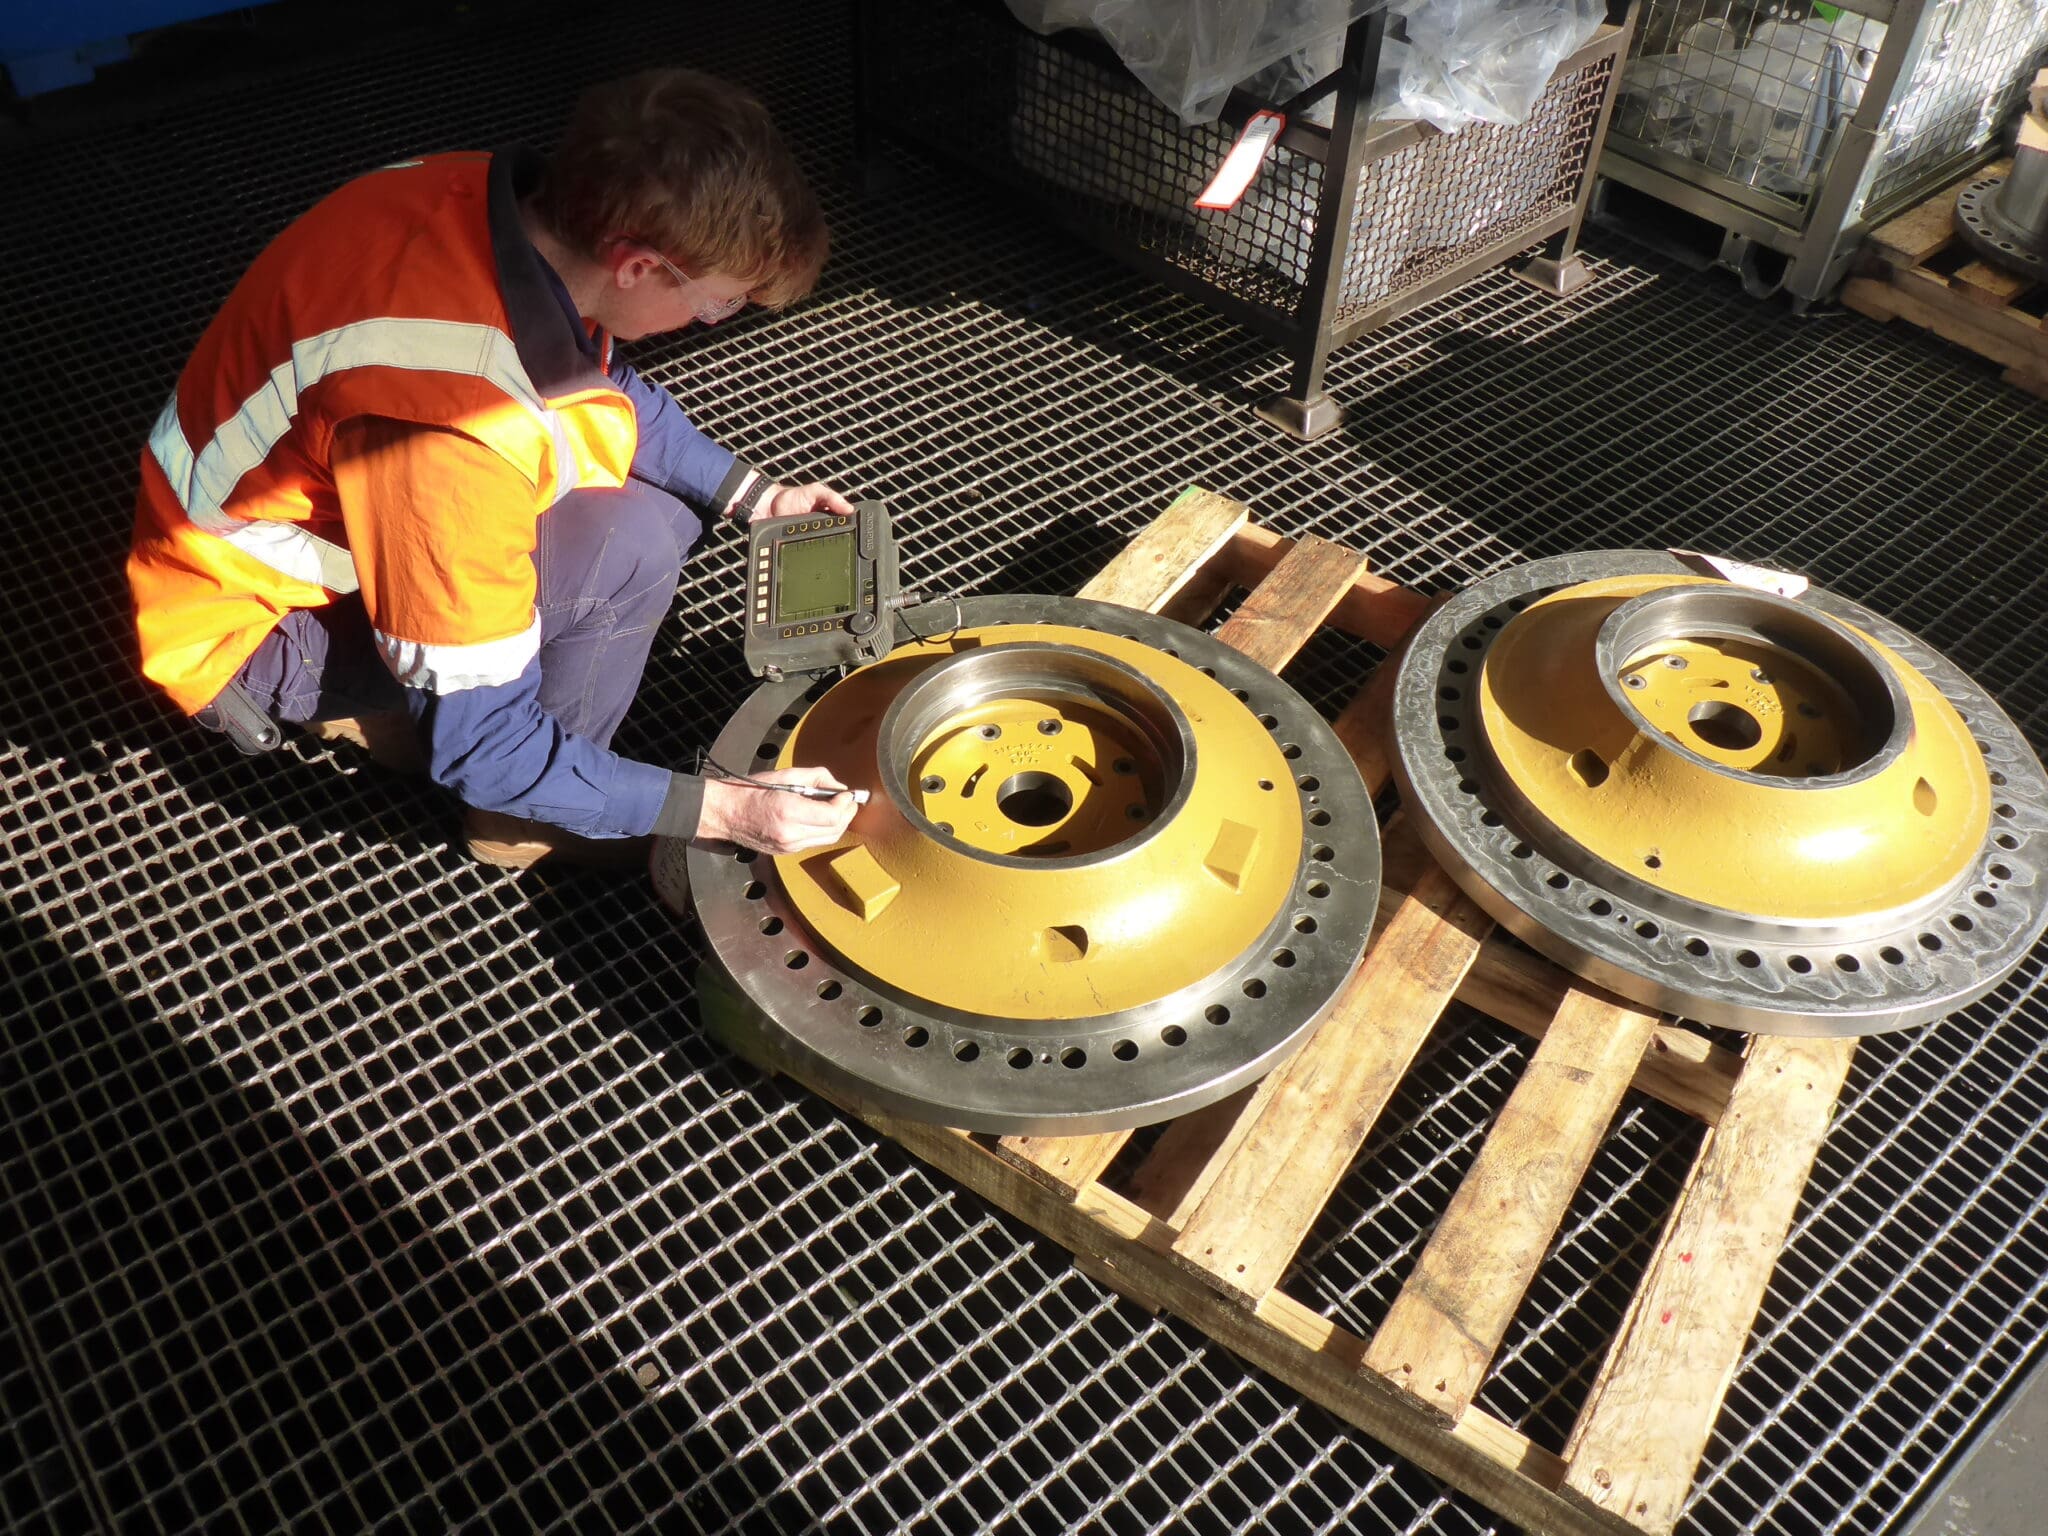
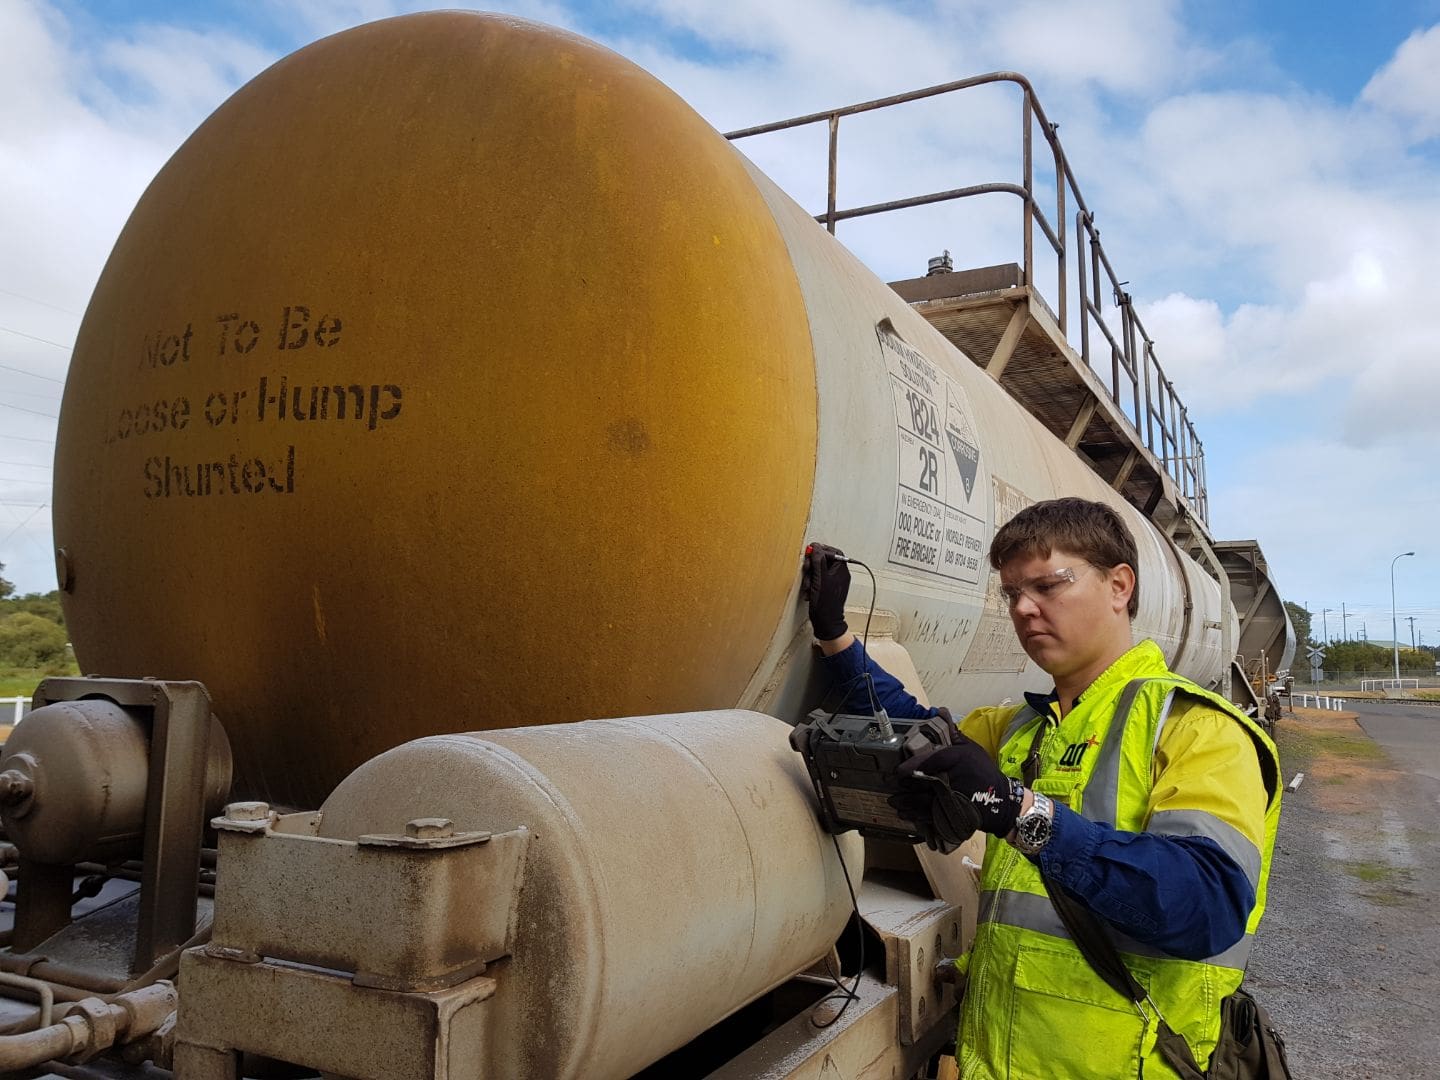
Conventional Ultrasonic Testing (UT) uses a probe comprised of a piezoelectric element capable of generating high-frequency acoustic waves that travel at a specific velocity dependent on the material. The UT instrument produces an A-Scan that visually represents the ultrasonic signal travelling through the component. Analysis of this A-scan display allows for the evaluation and interpretation of the specimen under examination.
UT is primarily used for Thickness Measurement, Weld Inspection, Ball Stud Testing, and Lamination and Corrosion Detection. It is a cost-effective, fast inspection technique that can determine the acceptance or rejection of a test object based on a reference code or standard.
ARI was featured in the Evident InSight Blog as using best practice to conduct Ultrasonic Thickness measurements using their instrumentation.
Advantages of Ultrasonic Testing
- High Sensitivity: Ultrasonic testing can detect extremely small flaws or defects in materials, making it ideal for early detection of potential problems.
- Depth of Penetration: Ultrasonic waves can penetrate materials deeply, allowing for the inspection of thick sections and complex geometries.
- Accurate Sizing of Defects: This method can provide accurate measurements of the size, shape, and orientation of detected flaws.
- Non-Hazardous: Unlike radiography, ultrasonic testing does not use ionising radiation, making it safer for operators and the environment.
- Instant Results: The results are immediate, which is beneficial for quick decision-making in industrial processes.
- Portability: Modern ultrasonic NDT equipment is often portable and can be used in a variety of field conditions.
- Versatility: It can be applied to a wide range of materials, including metals, plastics, composites, and ceramics.
- Minimal Preparation: The test piece usually requires minimal surface preparation compared to other NDT methods.
Disadvantages of Ultrasonic Testing
- Skill-Dependent: It requires a high level of skill and experience to interpret the results accurately.
- Surface Access Required: Access to both sides of the sample may be necessary, which can be a limitation in some applications.
- Couplant Needed: Most ultrasonic techniques require a couplant to facilitate the transmission of sound waves, which can be messy or impractical in some situations.
- Limited on Certain Materials: Materials that are highly porous or have coarse grain structures (like cast iron) can scatter the sound waves, making it difficult to get accurate readings.
- Difficulty with Complex Geometries: Components with complex shapes or surfaces can pose challenges in terms of probe placement and interpretation of results.
Radiography
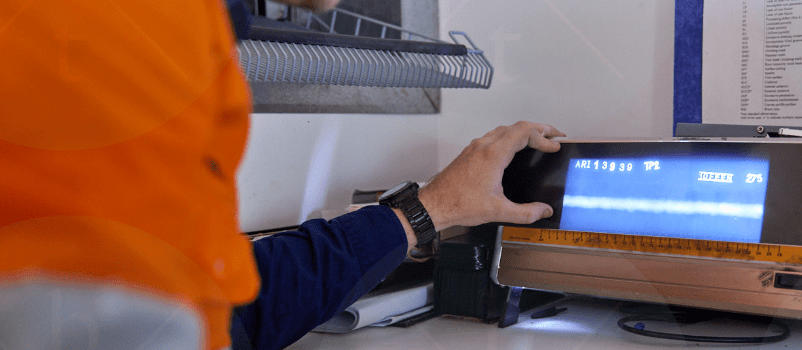
Radiographic Testing (RT), now sometimes referred to as Conventional Film Radiography since the introduction of Digital Radiography (DRT) is the most common volumetric inspection method. It captures a permanent record of volumetric discontinuities that can be stored and easily communicated to stakeholders.
We can deploy our RT crews to site with all equipment required or we can complete the testing at our Bunbury workshop. For onsite campaigns and shutdowns, we have a portable processing facility so that the processing can be completed onsite and fast results can be provided to welding and fabrication teams.
Advantages of Radiographic Testing
- Internal Defects Visualisation: Radiography provides a visual image of internal features, including voids, cracks, and other inhomogeneities.
- High Sensitivity: It can detect both surface and subsurface defects, making it suitable for identifying a wide range of flaws.
- Permanent Record: The results are a permanent record in the form of radiographic film or digital images, which can be reviewed and analysed later.
- Applicable to a Range of Materials: RT can be used on metals, composites, plastics, and ceramics, making it versatile.
- Deep Penetration: X-rays and gamma rays can penetrate various materials and thicknesses, allowing inspection of thick and dense components.
- Non-Contact Method: It is a non-contact method, meaning it can be performed without directly touching the test object, which is useful for delicate or hot materials.
Disadvantages of Radiographic Testing
- Health and Safety Risks: The use of ionizing radiation requires strict safety protocols to protect operators and the public from exposure.
- Access to Both Sides: Radiographic testing usually requires access to both sides of the test object.
- Time-Consuming: Setting up and taking radiographs, especially in field conditions, can be time-consuming compared to some other certified NDT methods.
- Limited Sensitivity to Some Flaws: RT is less effective for detecting very small surface cracks or defects that lie parallel to the X-ray beam.
- Operational Restrictions: Due to safety concerns, radiographic testing often requires the evacuation of nearby personnel, which can disrupt other operations.
Magnetic Particle Inspection
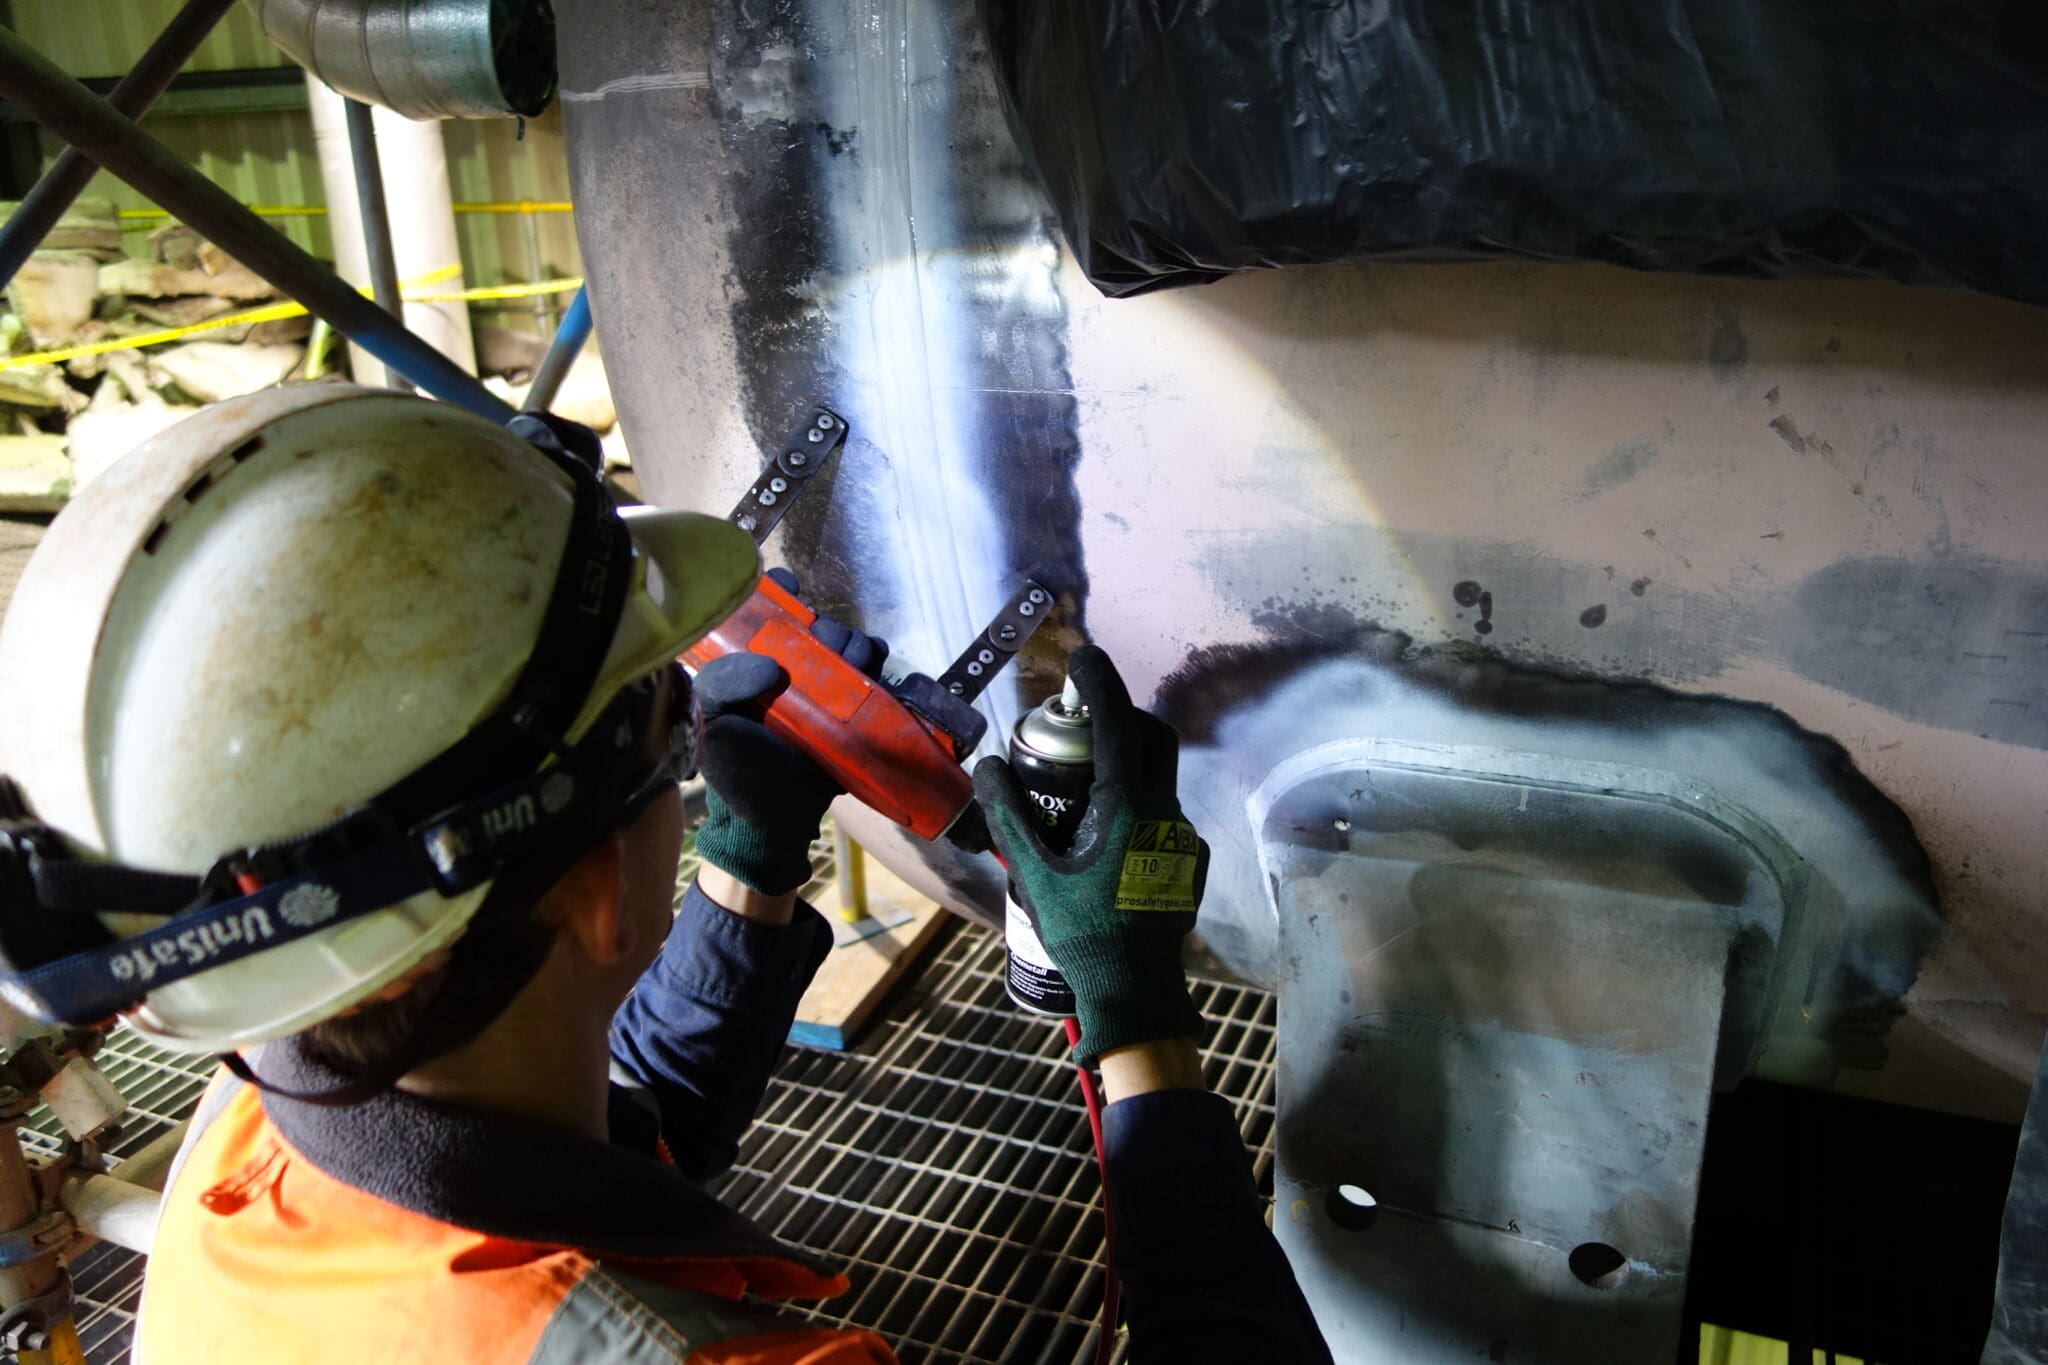
Magnetic Particle Inspection (MPI) is a non-destructive testing (NDT) process for detecting surface and near-surface discontinuities in ferromagnetic materials such as iron, nickel, cobalt, and some of their alloys. The method uses magnetic fields and small magnetic particles (like fine iron filings) to detect flaws in components.
Here’s how MPI works:
- The object being inspected is magnetized either locally or overall. When the material is magnetized, magnetic lines of force are established within the material.
- If there are any discontinuities (such as cracks, seams, or inclusions) present, they will interrupt the flow of magnetic lines of force, causing leakage at the site.
- The applied magnetic particles, which can be dry or in a liquid suspension, are attracted to this area of flux leakage, clustering to form a visible indication that mirrors the shape of the discontinuity.
- The indications are then evaluated to determine if they are relevant defects that require action.
MPI is valuable because it is a quick and relatively simple means of testing for surface cracks and other defects in magnetic materials.
Advantages of MPI
- Sensitivity to Small Defects: MPI can detect very fine cracks and other surface discontinuities that might be invisible to the naked eye.
- Immediate Results: The results of a magnetic particle inspection are visible as the test is taking place. There is no need for complex processing or extended waiting periods.
- Minimal Preparation: The surface needs only to be free from oil, dirt, scale, or other coatings that might keep the particles from moving freely.
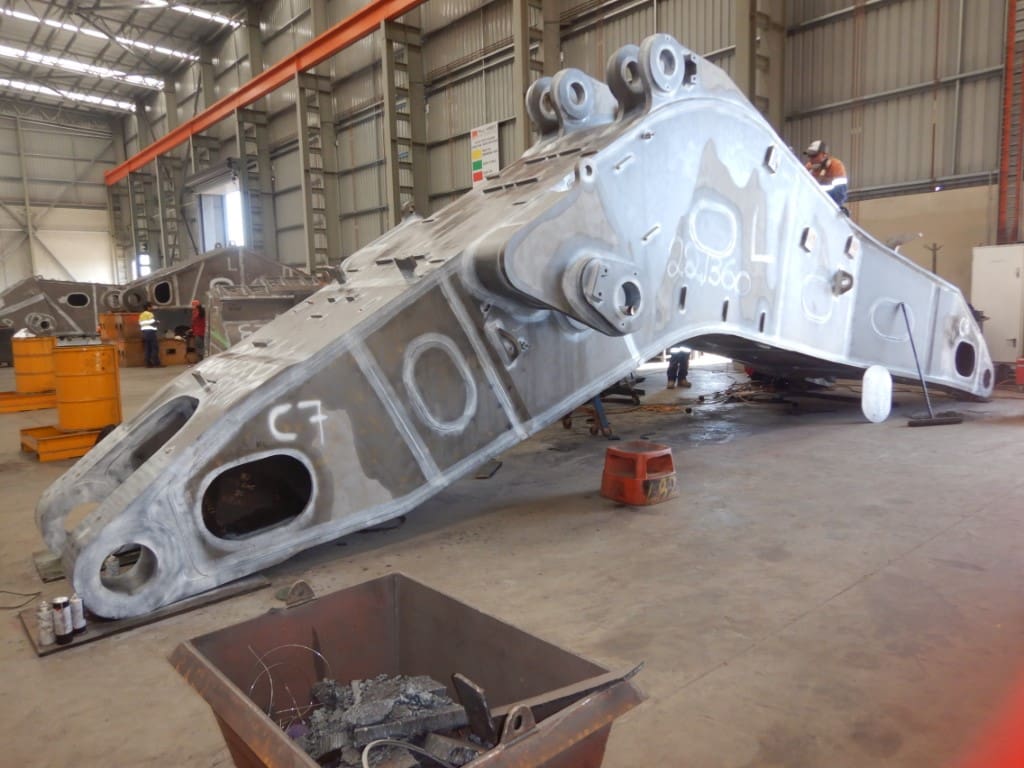
- Versatility: It can be used to inspect various product forms including castings, forgings, and welds.
- Cost-Effectiveness: MPI is generally less expensive and more available than other forms of non-destructive examination.
Disadvantages of MPI
- Material Limitations: MPI is only applicable to ferromagnetic materials. Non-ferromagnetic materials, like aluminium, plastic, or certain stainless steels, cannot be tested using this method.
- Surface Accessibility: MPI can only detect discontinuities that are open to the surface or just below it. It cannot detect flaws that are deeper inside the material.
- Surface Preparation: The surface must be relatively clean and free of oil, grease, scale, or other coatings that could potentially prevent the magnetic particles from freely moving to the site of the flaw.
- Cleanup Required: After testing, the parts need to be demagnetised and cleaned to remove the magnetic particles, which can be an additional process step.
- Limited to Certain Shapes: Complex geometries can be challenging to inspect because uniform magnetisation may be difficult to achieve, leading to misleading indications or missed defects.
MPI is valuable in various industries, including mining, power generation, oil, gas, chemical, aerospace, automotive, and manufacturing, where it is essential to ensure the integrity of critical components without causing damage to the materials. It plays a crucial role in the quality assurance process, helping to prevent failures, accidents, and costly downtime.
Dye Penetrant Inspection
Dye penetrant inspection (DPI), also known as liquid penetrant inspection (LPI) or penetrant testing (PT), is a popular and low-cost certified NDT method used to detect surface-breaking defects in a variety of materials. While it is suitable for all metals, Magnetic Particle Inspection (MPI) is generally the preferred method for Ferrous metals and PT is used for Non-Ferrous metals and non-metals.
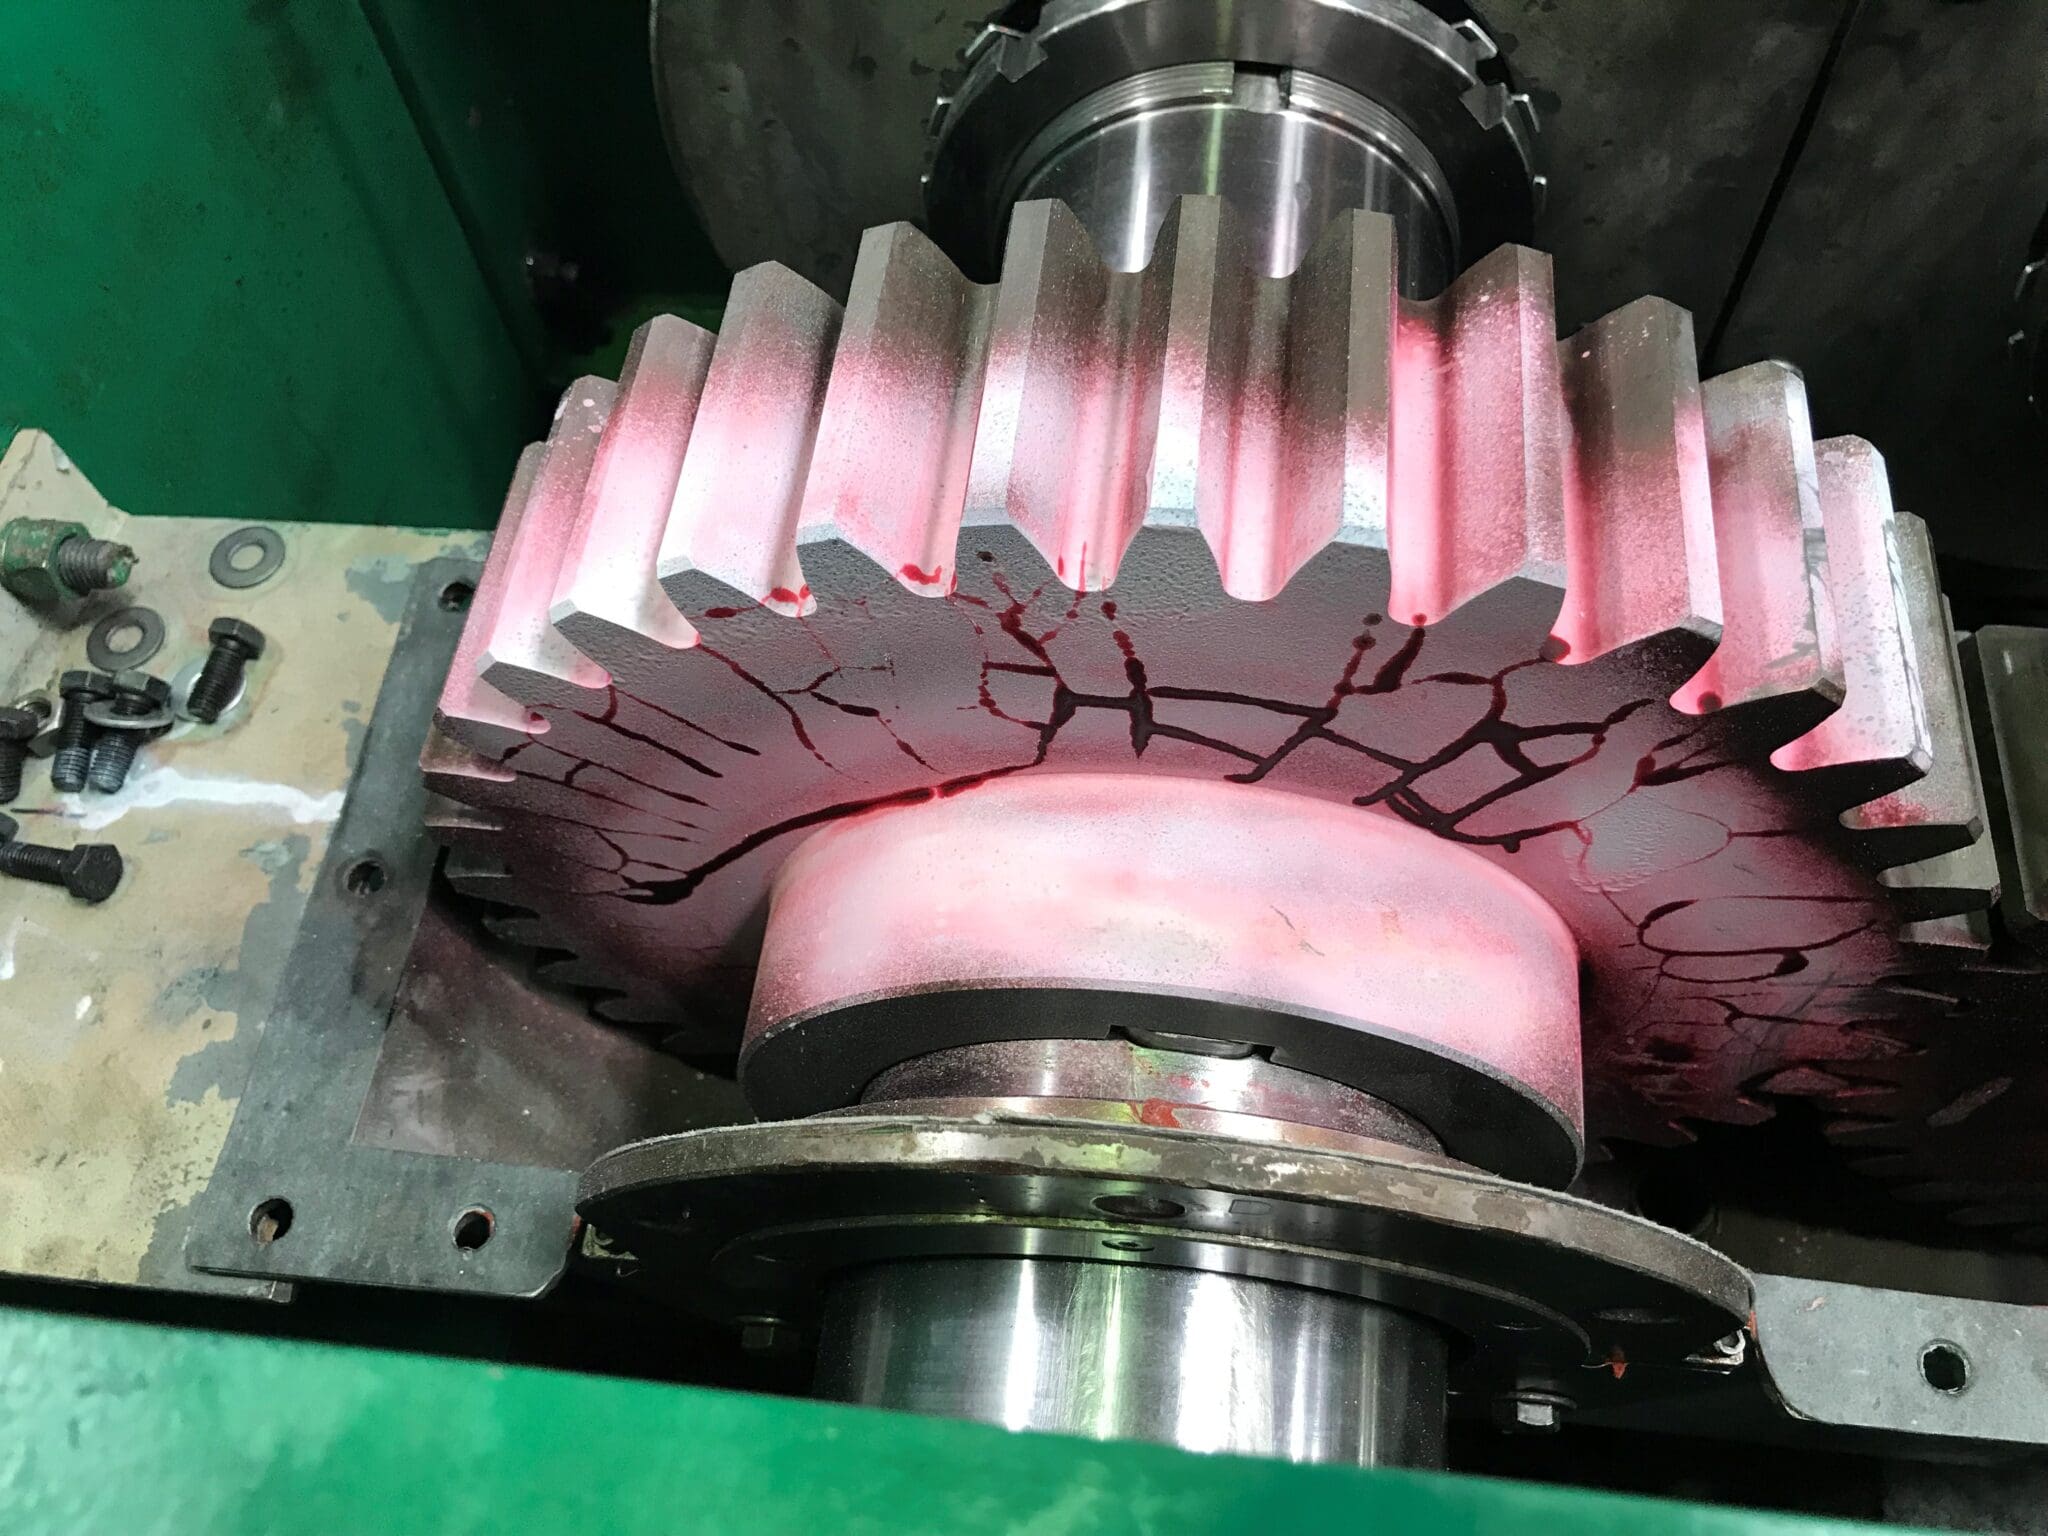
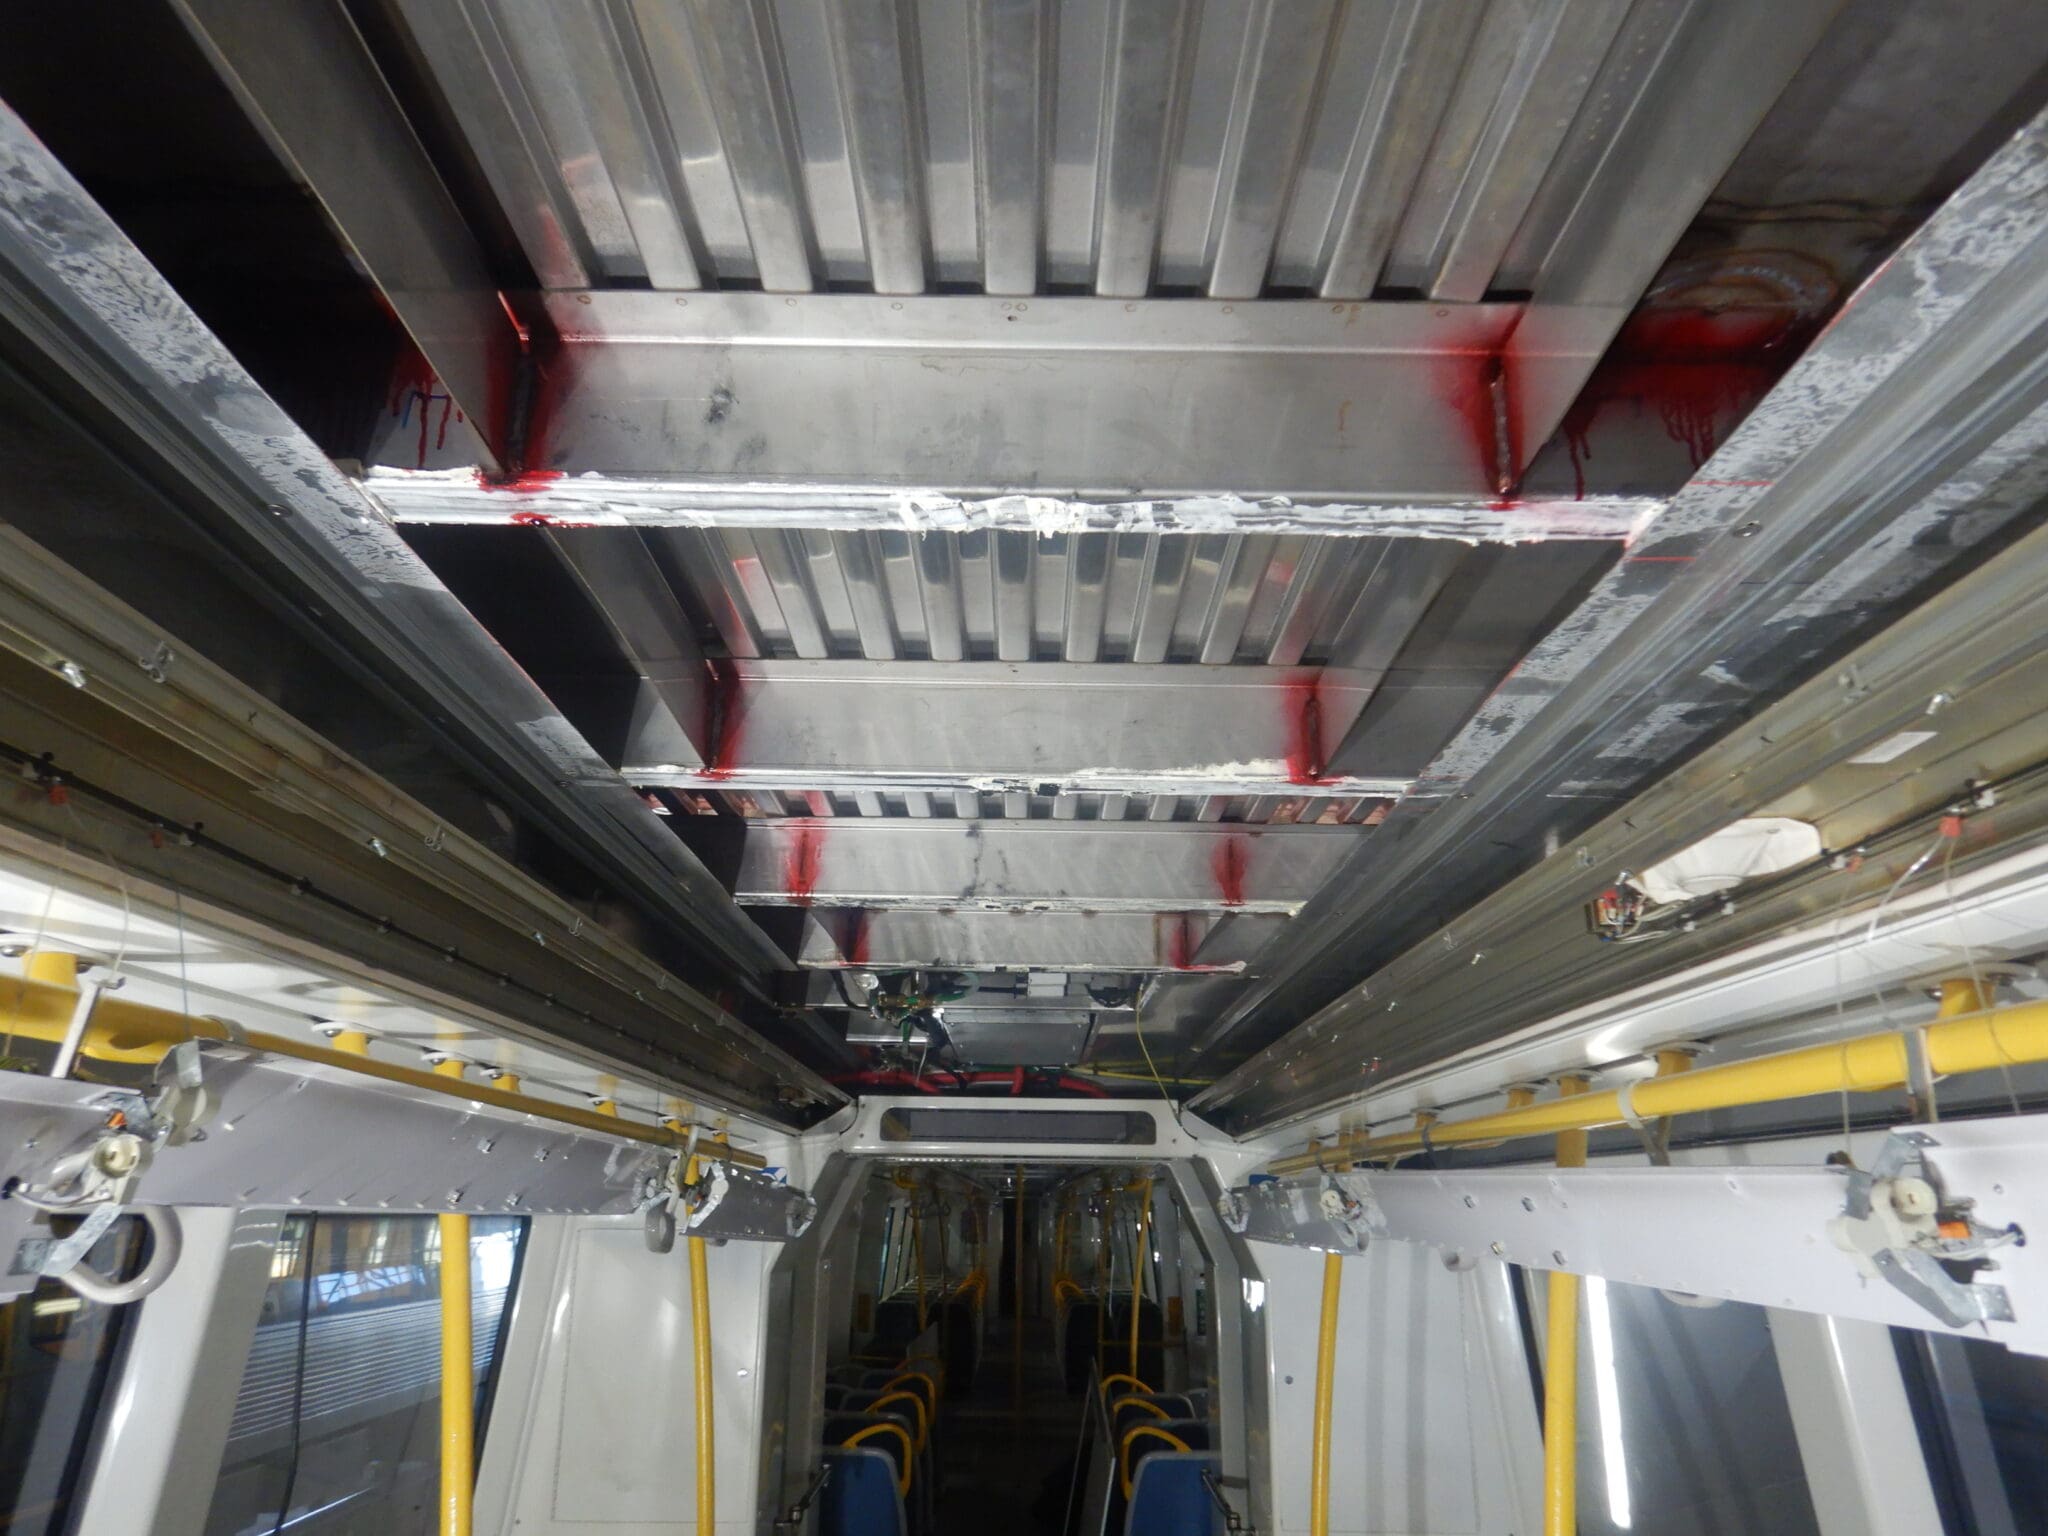
In this inspection method, a liquid penetrant is applied to the surface of the material being tested. The penetrant is drawn into any surface-breaking defects, such as cracks, porosity, laps, seams, and other surface flaws, by capillary action. After a period, the excess penetrant is removed, and a developer is applied to draw out any penetrant trapped in the defects, making them visible as vivid red or fluorescent indications under proper lighting conditions.
Advantages of Dye Penetrant Inspection
- High Sensitivity to Surface Defects: DPI is extremely effective at revealing surface-breaking flaws such as cracks, porosity, seams, and laps.
- Simple and Economical: The process is relatively simple and does not require expensive equipment, making it cost-effective.
- Versatile on Various Materials: It can be used on a wide range of non-porous materials, including metals, glass, and certain types of plastics and ceramics.
- Visible Indications: The defects are visually highlighted by the dye, making them easy to see with the naked eye.
- Rapid and Portable: DPI can be done quickly and on-site, as it does not require large or complex equipment.
- No Safety Hazards: Unlike methods such as radiography, DPI does not involve hazardous substances or radiation.
Disadvantages of Dye Penetrant Inspection
- Limited to Surface Defects: It can only detect flaws that are open to the surface and cannot identify subsurface defects.
- Surface Preparation Required: The surface must be clean and free from oil, grease, water, or other contaminants for the dye to penetrate effectively.
- Not Suitable for Porous Materials: DPI is not effective on porous materials as the penetrant can get trapped in the pores.
- Risk of Over-Washing: Excessive washing can remove the penetrant from flaws, leading to missed defects.
- Post-Cleaning Required: After inspection, the part must be thoroughly cleaned to remove the dye, which can be time-consuming.
- Limited Use in Rough Surfaces: Very rough or irregular surfaces may give false indications or make interpretation of results difficult.
Eddy Current Testing Services
Eddy Current Testing (ET) is used for the detection of surface or near-surface defects in materials such as aluminium, stainless steel, copper, titanium, brass, Inconel alloys, and even carbon steel (surface defects only). ET does not require the removal of paint or coatings to be able to inspect for surface-breaking defects in carbon steel. This makes ET an economical NDT technique for inspecting cranes, lifting lugs, and various other assets that require routine inspection.
ARI can provide a complete range of certified NDT services, and with certified Eddy Current technicians in Perth, Adelaide and Bunbury, we can determine if Eddy Current is a suitable option for your NDT needs.
Advantages of Eddy Current Testing
- Sensitive to Small Cracks and Other Defects: ET is highly sensitive to small cracks, especially those perpendicular to the coil movement.
- Versatile for Various Applications: It’s used for crack detection, material thickness measurements, conductivity measurements for material identification, and heat damage detection.
- Immediate Results: The results are immediate and can be displayed in real-time, aiding quick decision-making.
- Non-Contact Method: ECT does not require physical contact with the material, making it suitable for delicate surfaces and automated scanning systems.
- Can Inspect Through Coatings: Thin non-conductive coatings or paint do not need to be removed as ET can inspect through them.
- No Safety Hazards: Unlike radiographic testing, ET does not use hazardous radiation.
- Minimal Surface Preparation Required: It requires less surface preparation compared to methods like dye penetrant or ultrasonic testing.
Disadvantages of Eddy Current Testing
- Limited Penetration Depth: ET is mainly used for surface and near-surface defect detection and has limited depth penetration.
- Conductivity Requirements: It’s only applicable to conductive materials, limiting its use on non-metals.
- Surface Condition Effects: The method is sensitive to the surface condition of the material, and rough or irregular surfaces can interfere with readings.
- Coupling Consistency Needed: Inconsistent probe contact and liftoff can affect the reliability of results.
- Variability in Material Properties: Variations in material properties like conductivity and permeability can affect results.
- Risk of Electromagnetic Interference: ET can be susceptible to electromagnetic interference from external sources.
Contact Us
Send a message, or give us a call to discover how we can help.

